
Sending emails is still a core part of many integration flows — error notifications, confirmations, alerts. This tutorial walks through setting up the Send Mail activity in TIBCO Cloud Integration’s Web Integrator, using Gmail as the provider.
Note: you might need to create an ‘App Specific Password’ if your account uses two-factor authentication
This one is mostly visual — screenshots do the heavy lifting.
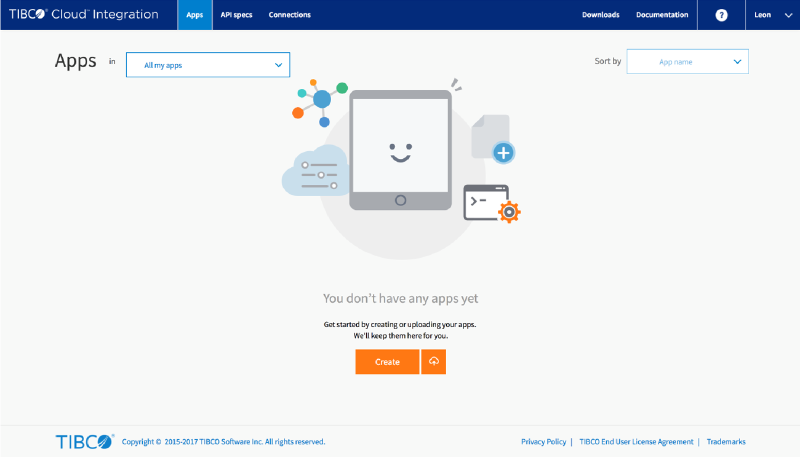
Create a new app #
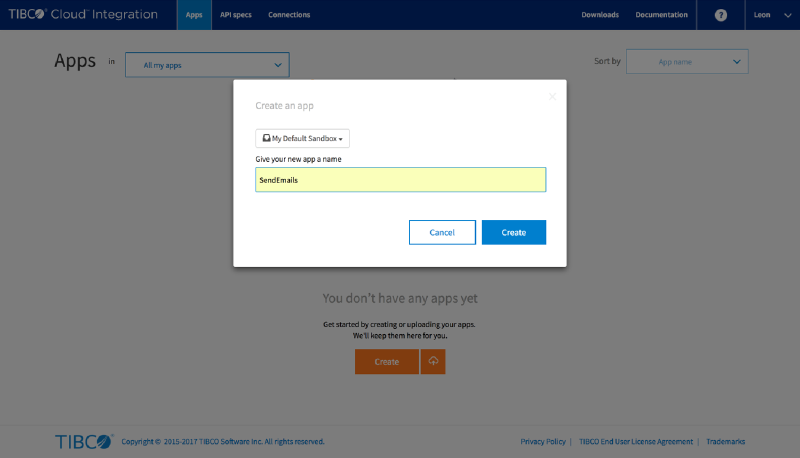
Give the app a name #
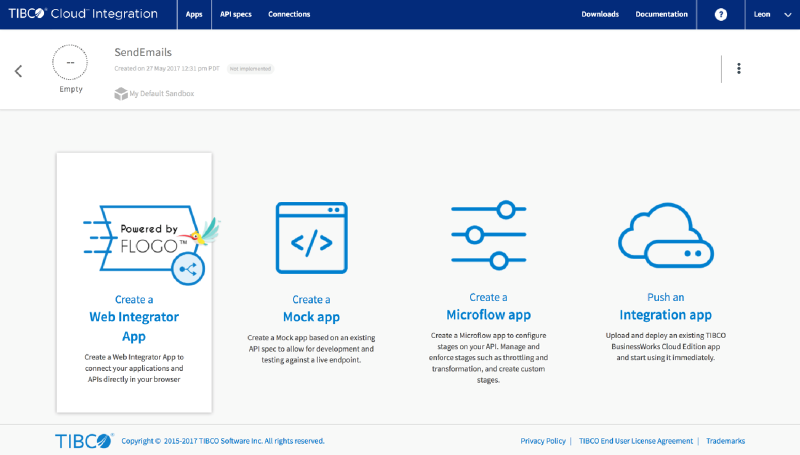
Choose the Web Integrator App type #
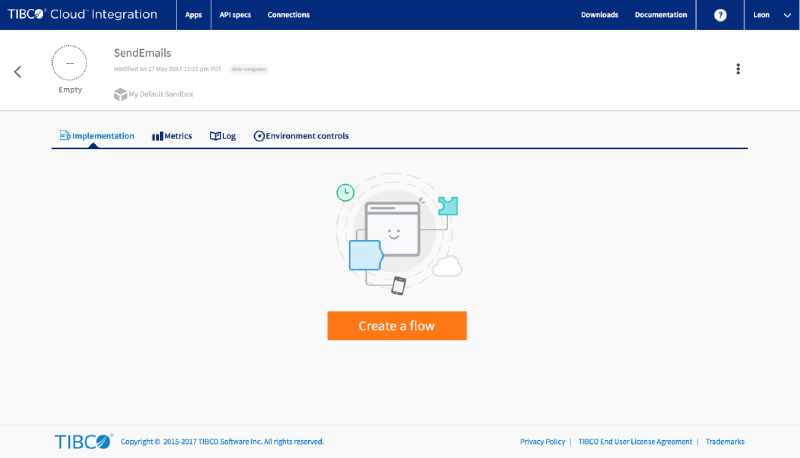
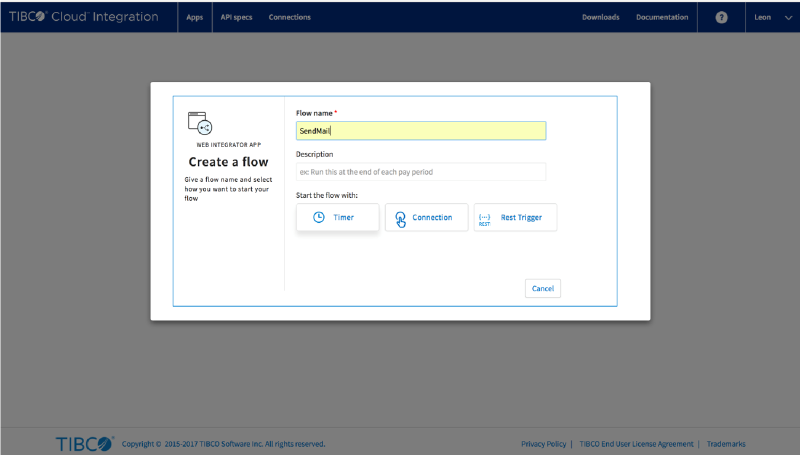
Create a new flow #
Give the flow a name and select the Timer to start #
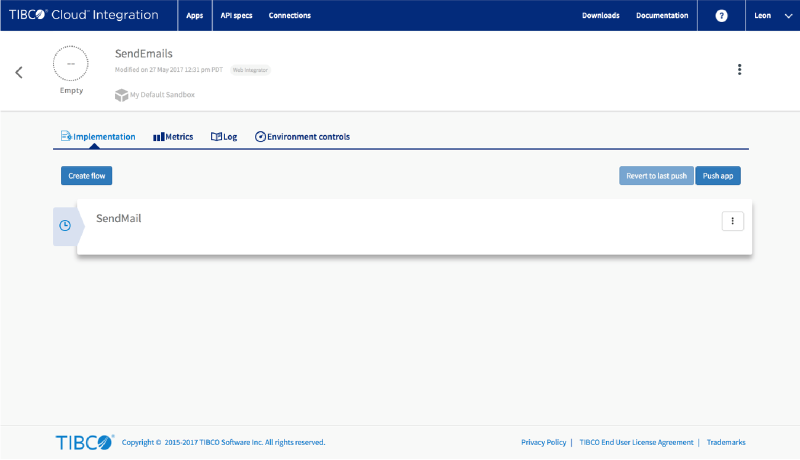
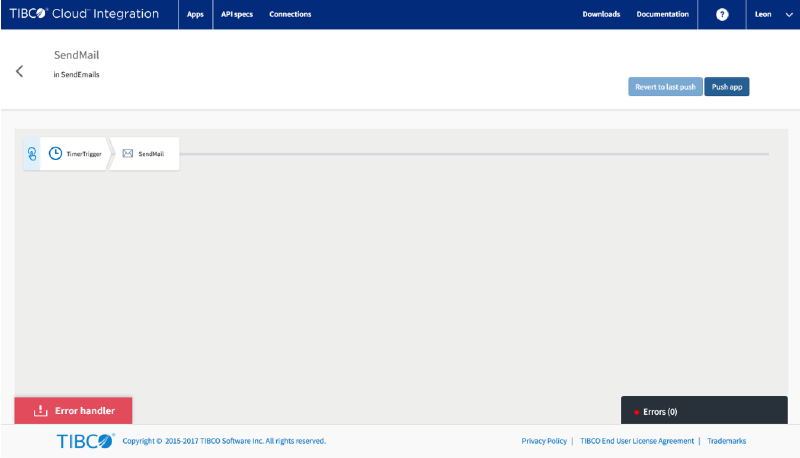
Click on the newly created flow #
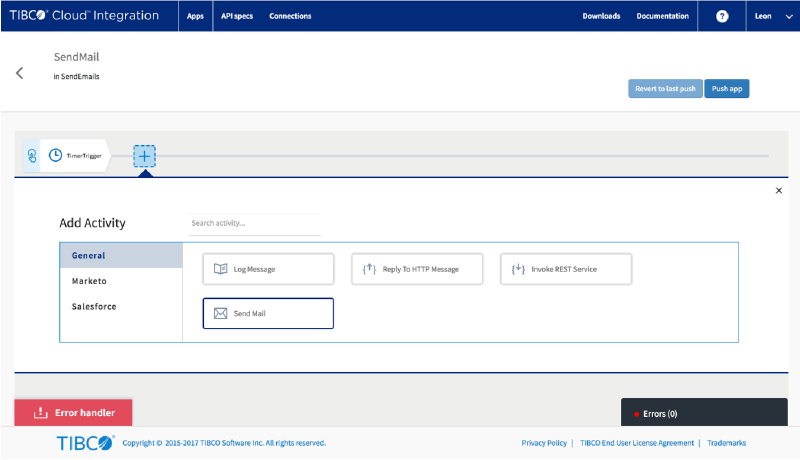
Add a ‘Send Mail’ activity #
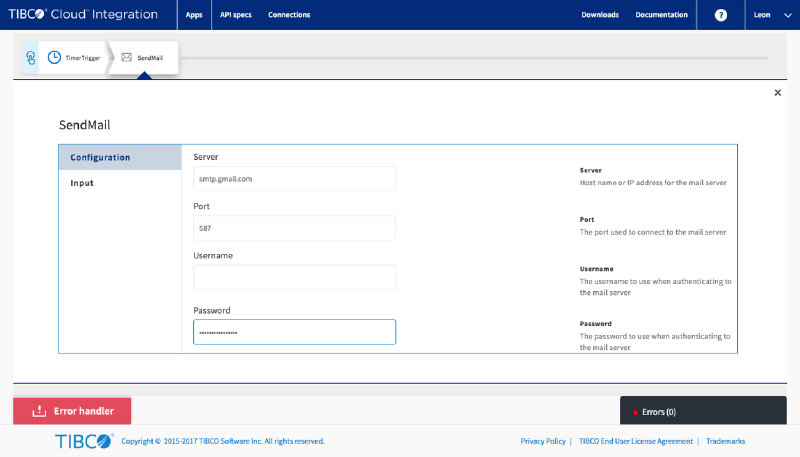
Configure the properties #
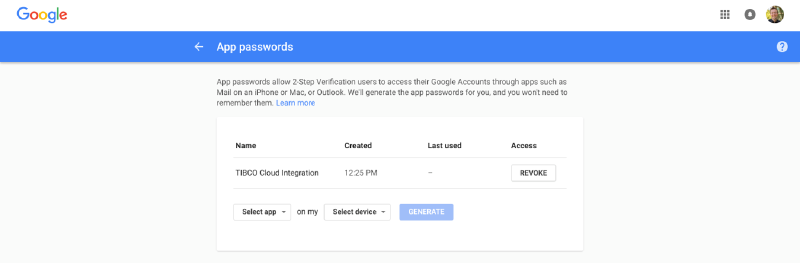
App specific passwords #
If your email account uses two-factor authentication you need to create an ‘App Password’ like here for Gmail
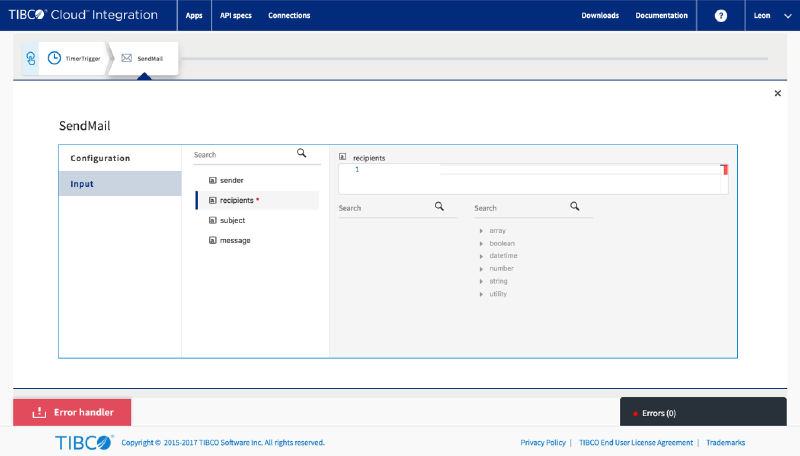
Add receivers #
On the ‘Input’ add the recipients (comma separated if you want more than one)
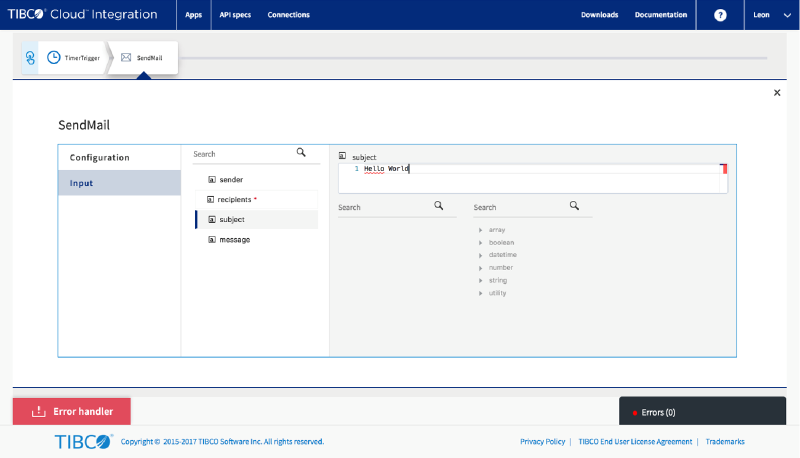
The subject #
Add the subject line for your email
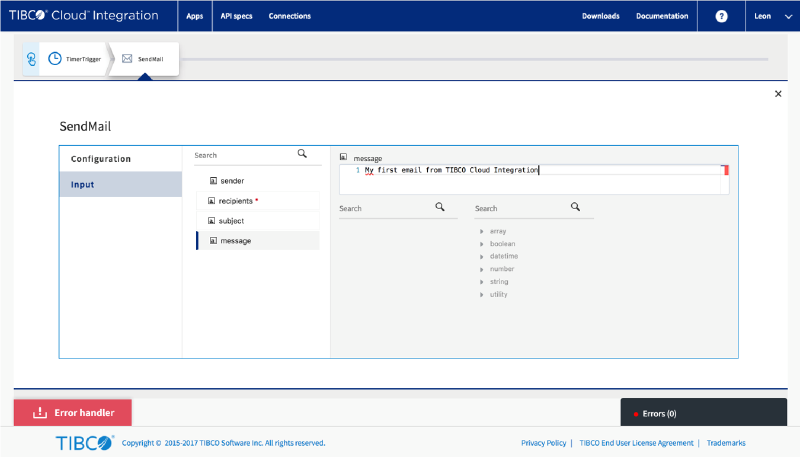
Your message #
Input the message body you want to send
Push the App #
That’s it #
In a few seconds your app will start and send the email. Let me know your thoughts on this tutorial either by commenting below or posting something on the TIBCO Community!