
Ever wanted to capture data from a form and send it somewhere useful? Google Forms handles the collection side well, but what about routing that data to an API? That’s where TIBCO Cloud Integration comes in.
Some assumptions #
A few assumptions going in, which should cover most readers. If you have questions, post them at the TIBCO Community or here below.
- You’ve seen TIBCO Cloud Integration before and at least have an active account (if not you can sign up here)
- You know how to create an API spec in TIBCO Cloud Integration (if not the documentation helps you to create your first API)
- You’re familiar with Express and Node.js
- You’ve got access to Google Forms
What we’re building #
The end result: a Node.js app that logs information posted to it from a Google Forms form. The form submits data, Google Apps Script sends it to the API, and the app logs it. Simple pipeline.
API first #
Most apps on TIBCO Cloud Integration start with the API spec. We’ll model the Google Form based on the API, so we define the API shape first. To create an API spec we need a name and version:
- Name: GoogleForm
- Version: 1.0.0
We need a POST operation — I’ll call it ‘request’. The payload is straightforward: a name, an email address, and some feedback. You can generate the request schema from a sample message:
{
  "name": "Leon",
  "email": "some@email.com",
  "feedback": "This is really a cool tutorial",
  "apikey": "12345"
}
The apikey field is a hardcoded value so the app can verify the request actually came from the Google Form rather than somewhere else. The API spec and all source code can be found here.
Building the app #
Generate the Node.js code from the API Modeler and implement the logic. To generate the Node.js app go to the API specs page, hover over an API specification and click Generate Node.js code.
Once you’ve unzipped the app, open the file ‘request.js’ in the handlers folder and remove lines 19 to 27 (the default generated code). We’ll replace it with a simple check: if the apikey matches our predefined value, log the data. If not, ignore it.
...

var status = 200;
// Checks if the apikey in the body matches the value specified
        if("A985C1924862054FB7308AB6695C6C2D97DAB97B3528338DD76482EF127A6CDE" == req.body.apikey) {
            // Just log the entire message
            Logger.log(Logger.LOG_DEBUG, `Body parameters received ${JSON.stringify(req.body)}`);
        }
res.status(status).send({message:'OK'});

...
Add this on line 2 of your file to make the logger accessible:
var Logger = require('../util/logger');Now push the app to TIBCO Cloud Integration using the tibcli utility (or if you use Microsoft Visual Studio Code you can use the plug-in).
The Google Form #
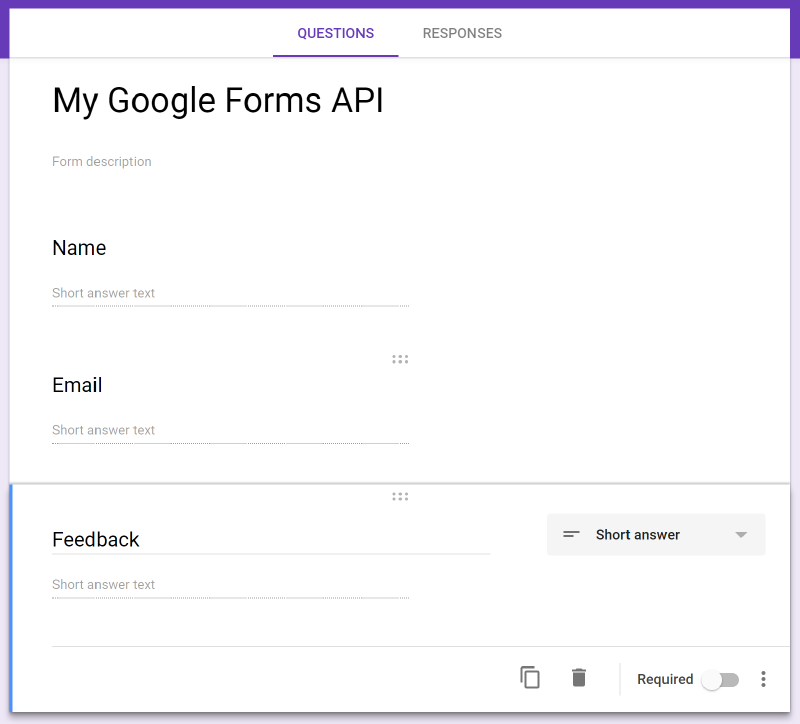
Go to Google Drive and select ‘New -> Google Forms -> Blank form’. Add three questions with ‘short text answer’ as the type:
Now for the part that ties it all together — the script that sends form responses to the API. Go into the script editor for Google Forms, name your project, and add this code:
function myOnSubmitHandler(e) {
// Get the form responses and the values of the questions
// note that the questions are in the array in the order
// you put them on the form
var formResponses = e.response.getItemResponses();
var name = formResponses[0].getResponse();
var email = formResponses[1].getResponse();
var feedback = formResponses[2].getResponse();
// Prepare JSON payload
// this will also have the apikey specified in the Node.js app
var data = {
'name': name,
'email': email,
'feedback': feedback,
'apikey': 'A985C1924862054FB7308AB6695C6C2D97DAB97B3528338DD76482EF127A6CDE',
};
// Default HTTP options
var options = {
'method' : 'post',
'contentType': 'application/json',
'payload' : JSON.stringify(data),
'muteHttpExceptions' : true
};
// Send the request to TIBCO Cloud Integration
// the URL comes from the app details and at the end is the resource you send the request to (the one from the API spec)
var httpResponse = UrlFetchApp.fetch('https://integration.cloud.tibcoapps.com/nuii2guwbehquemdg2to7hflf7q5ebiy/request', options);
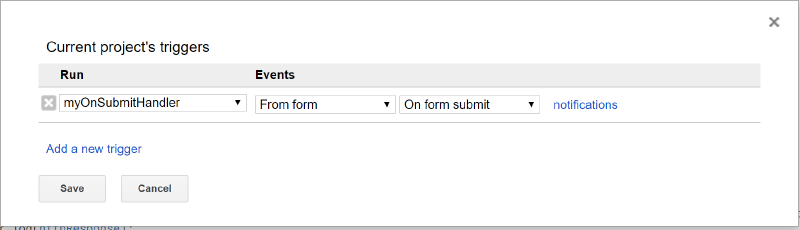
}Next, select ‘Edit’ in the menu and choose ‘Current project’s triggers’. Create a new trigger with myOnSubmitHandler in the run column followed by From form and On form submit.
You might get an authorization prompt — that’s expected since the script needs permission to make HTTP calls.
Testing it #
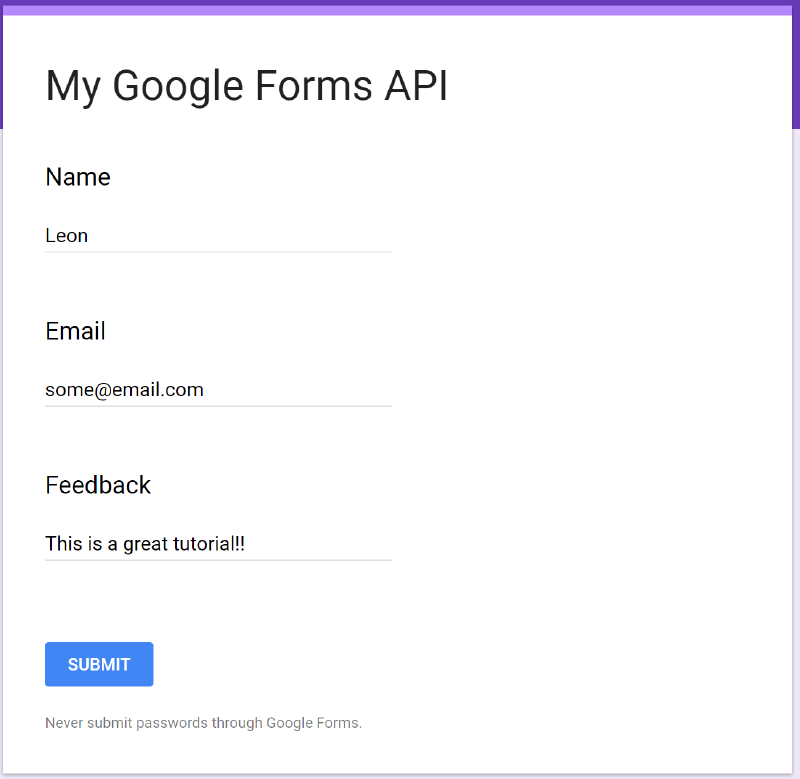
Preview the form, fill in some sample data (use a real email address), and hit ‘Submit’.
Check the logs of your app in TCI — you should see a new line with the same data: