
In 2002 Jeff Bezos issued a mandate that would change the world forever. At the very least it brought a massive change to how data is reused on the Internet:
- All teams will henceforth expose their data and functionality through service interfaces.
- Teams must communicate with each other through these interfaces.
- There will be no other form of inter-process communication allowed: no direct linking, no direct reads of another team’s data store, no shared-memory model, no back-doors whatsoever. The only communication allowed is via service interface calls over the network.
- It doesn’t matter what technology they use.
- All service interfaces, without exception, must be designed from the ground up to be externalizable. That is to say, the team must plan and design to be able to expose the interface to developers in the outside world. No exceptions.
- Anyone who doesn’t do this will be fired. Thank you; have a nice day!
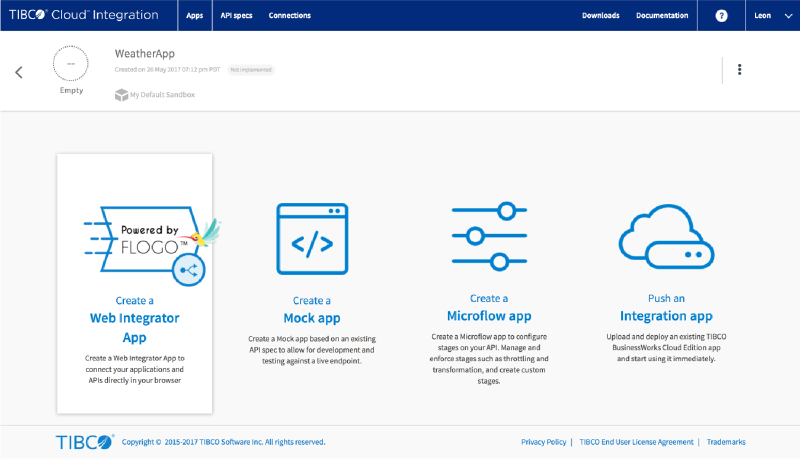
That mandate kicked off a lot of what we now call the API economy. Many enterprises have APIs that deliver data so you can focus on building value rather than figuring out how to get the data. That said, most APIs out there are documented but don’t have a swagger.json you can import directly. The Web Integrator in TIBCO Cloud Integration lets you paste sample messages from API docs and use those as the basis for invoking REST APIs.
This one is heavy on screenshots. I’ll use the MetaWeather API as the example.
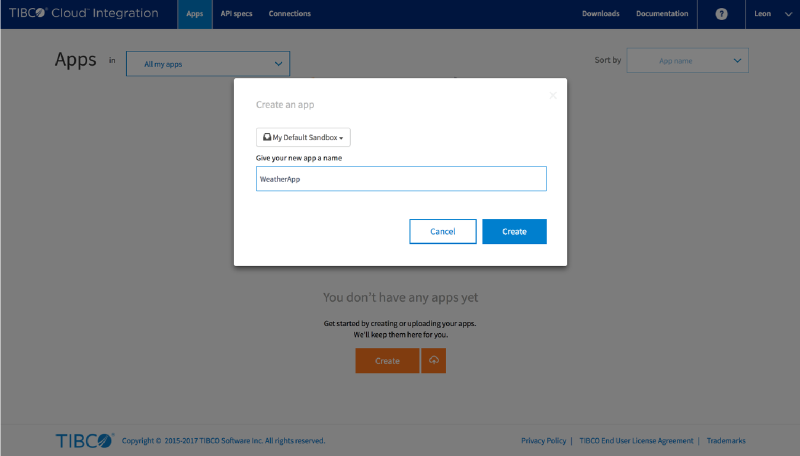
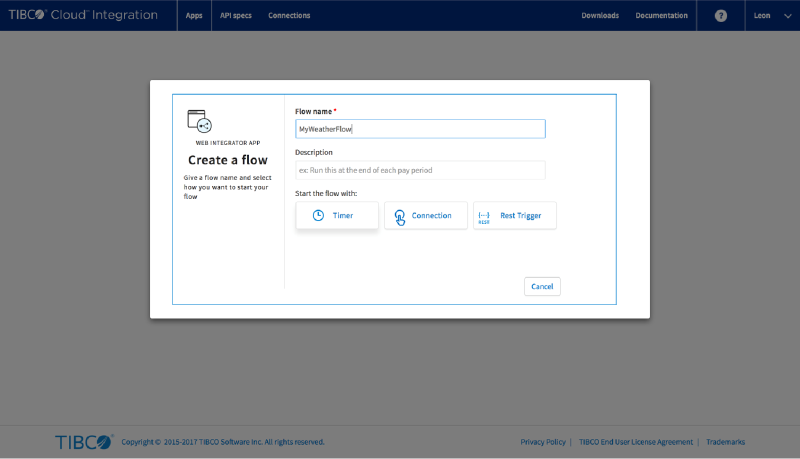
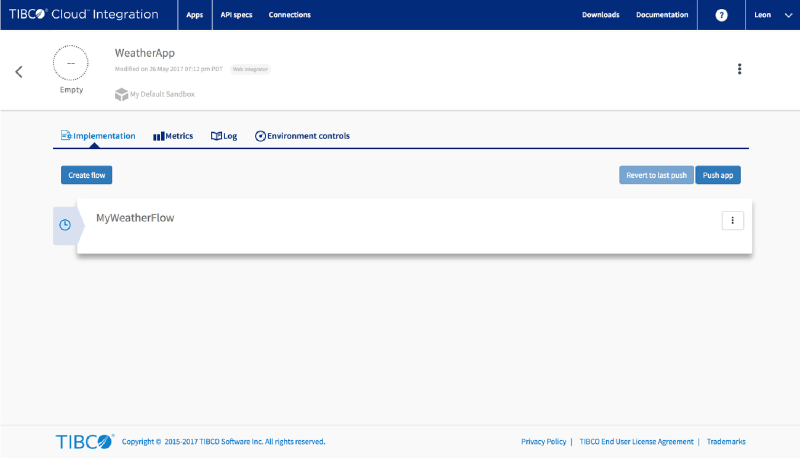
Create your app #
Step 1: Create an app!
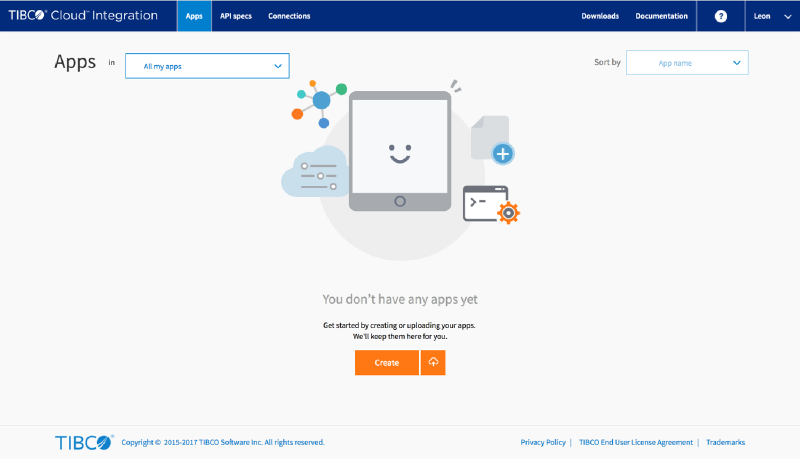
WeatherApp ;-)
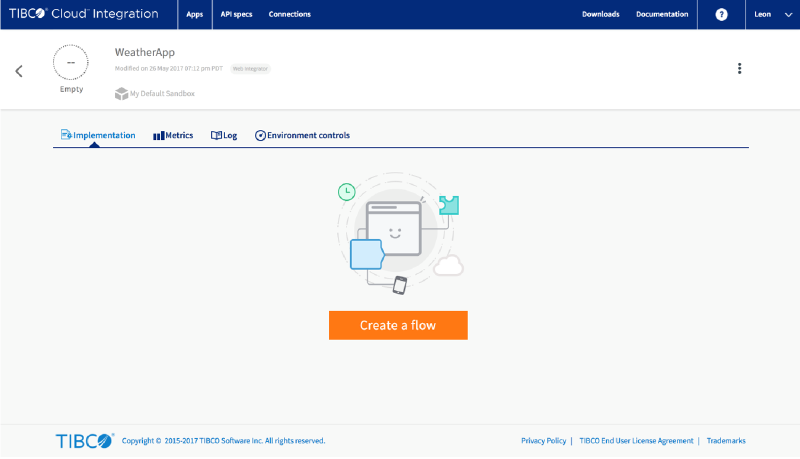
Getting data from MetaWeather #
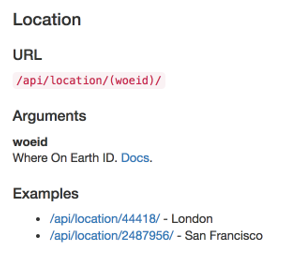
Step 7: Check out the MetaWeather API Location search.
The URL pattern is /api/location/search/?query
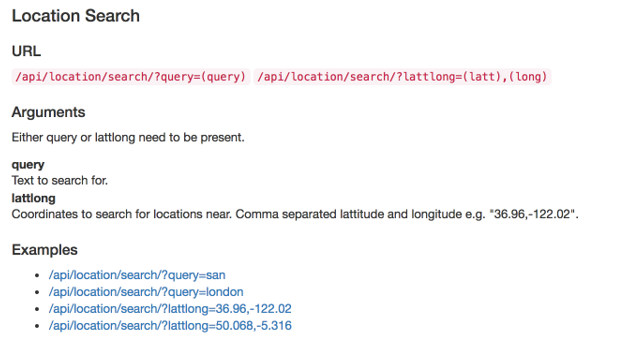

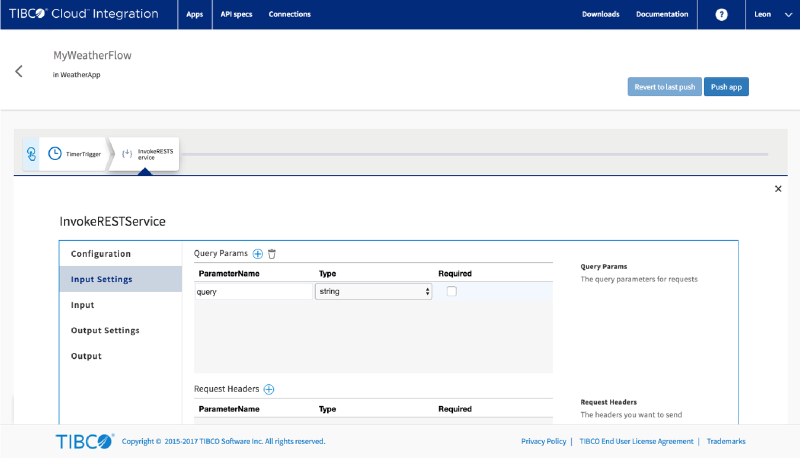
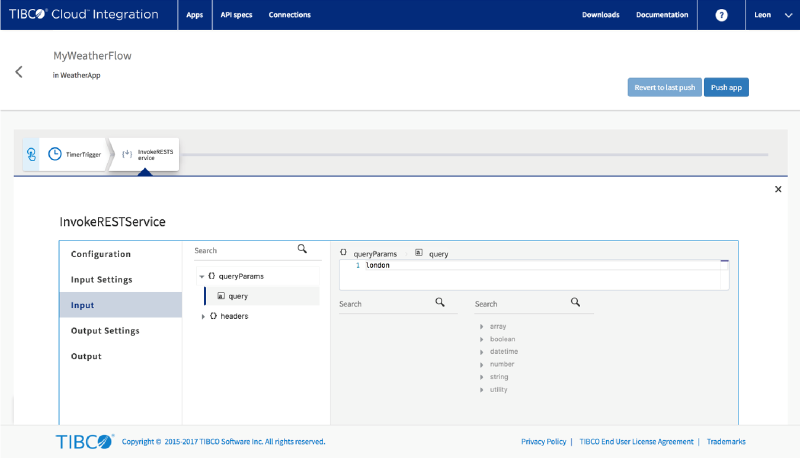
InvokeRESTService tile and paste the URL for the location search, without the query. So the URL will be https://www.metaweather.com/api/location/search
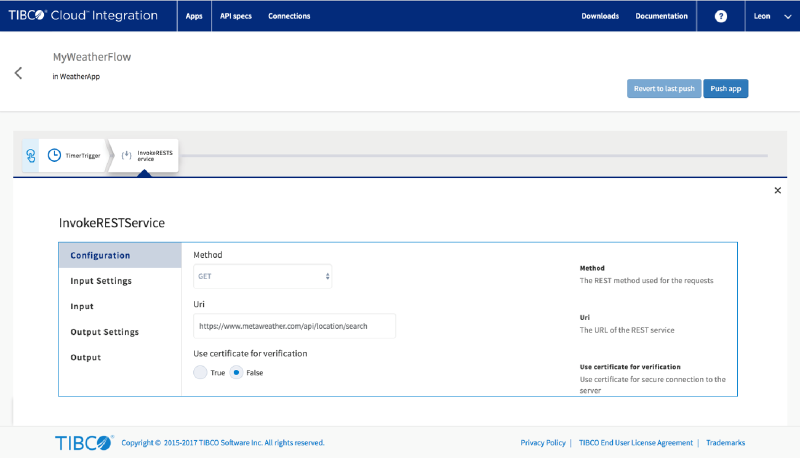
query. This tells the tile to expect a new parameter
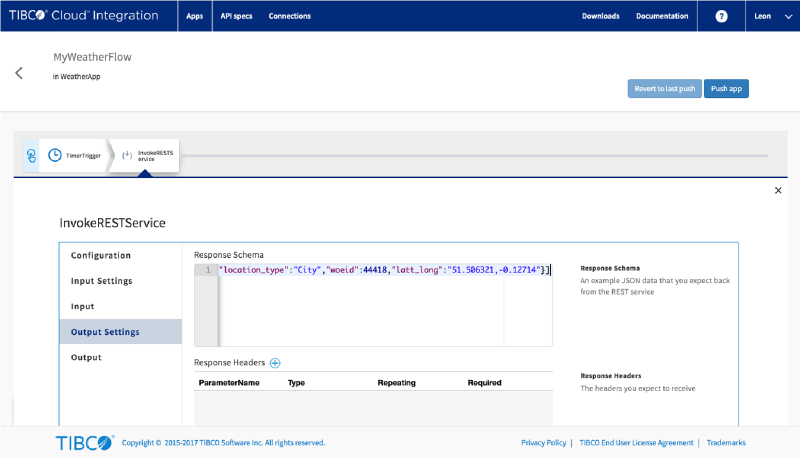
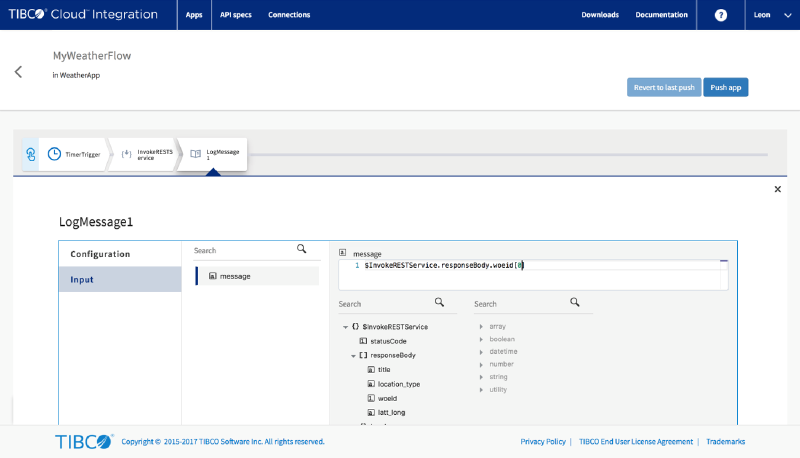
$InvokeRESTService.responseBody.woeid[0].
Add a second API call #
A single API call is useful, but let’s use the output of the first call to invoke another API.
Step 14: Check out the MetaWeather API for Location. The URL pattern is /api/location/{woeid} (which explains why the WOEid was interesting just now :))
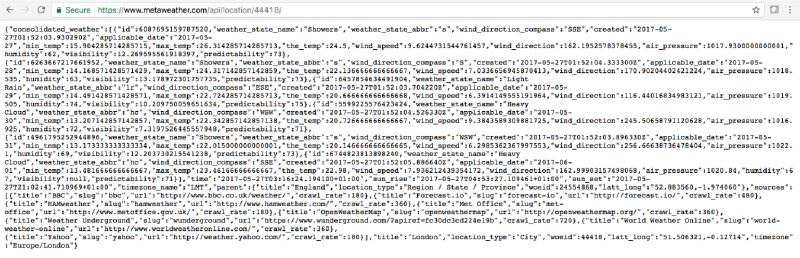
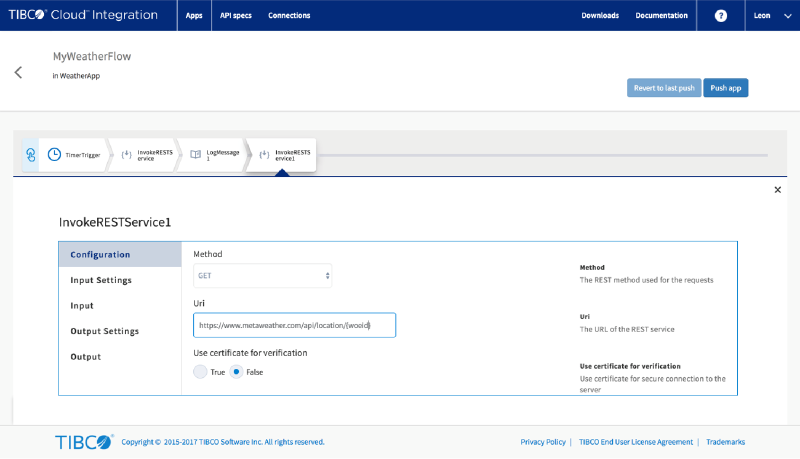
InvokeRESTService tile and paste the URL with woeid in curly braces: https://www.metaweather.com/api/location/{woeid}
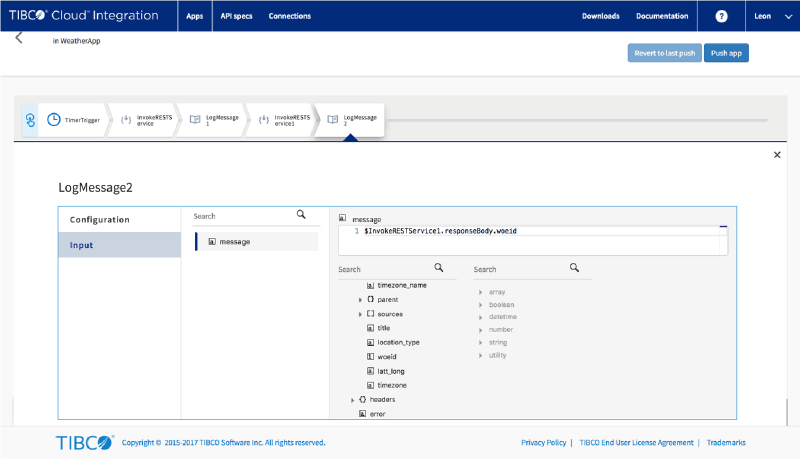
$InvokeRESTService.responseBody.woeid[0]


That’s it #
You used to need a lot of programming to orchestrate APIs into something useful. With the Web Integrator you can use the sample messages most APIs provide to chain calls together without writing code. As always let me know your thoughts on this tutorial either by commenting below or posting something on the TIBCO Community!